Tuesday, December 14, 2010

Three Little Pigs

We all know the story of the Three Little Pigs.  Each had their own opinion of the best material to use to build their house.  We also know how the story ends.  What the author left out is the benefits and faults of each type of building material.  You may wonder what this story has to do with our plans for our homestead.  As you will see it has everything to do with it.

Straw Bale Construction

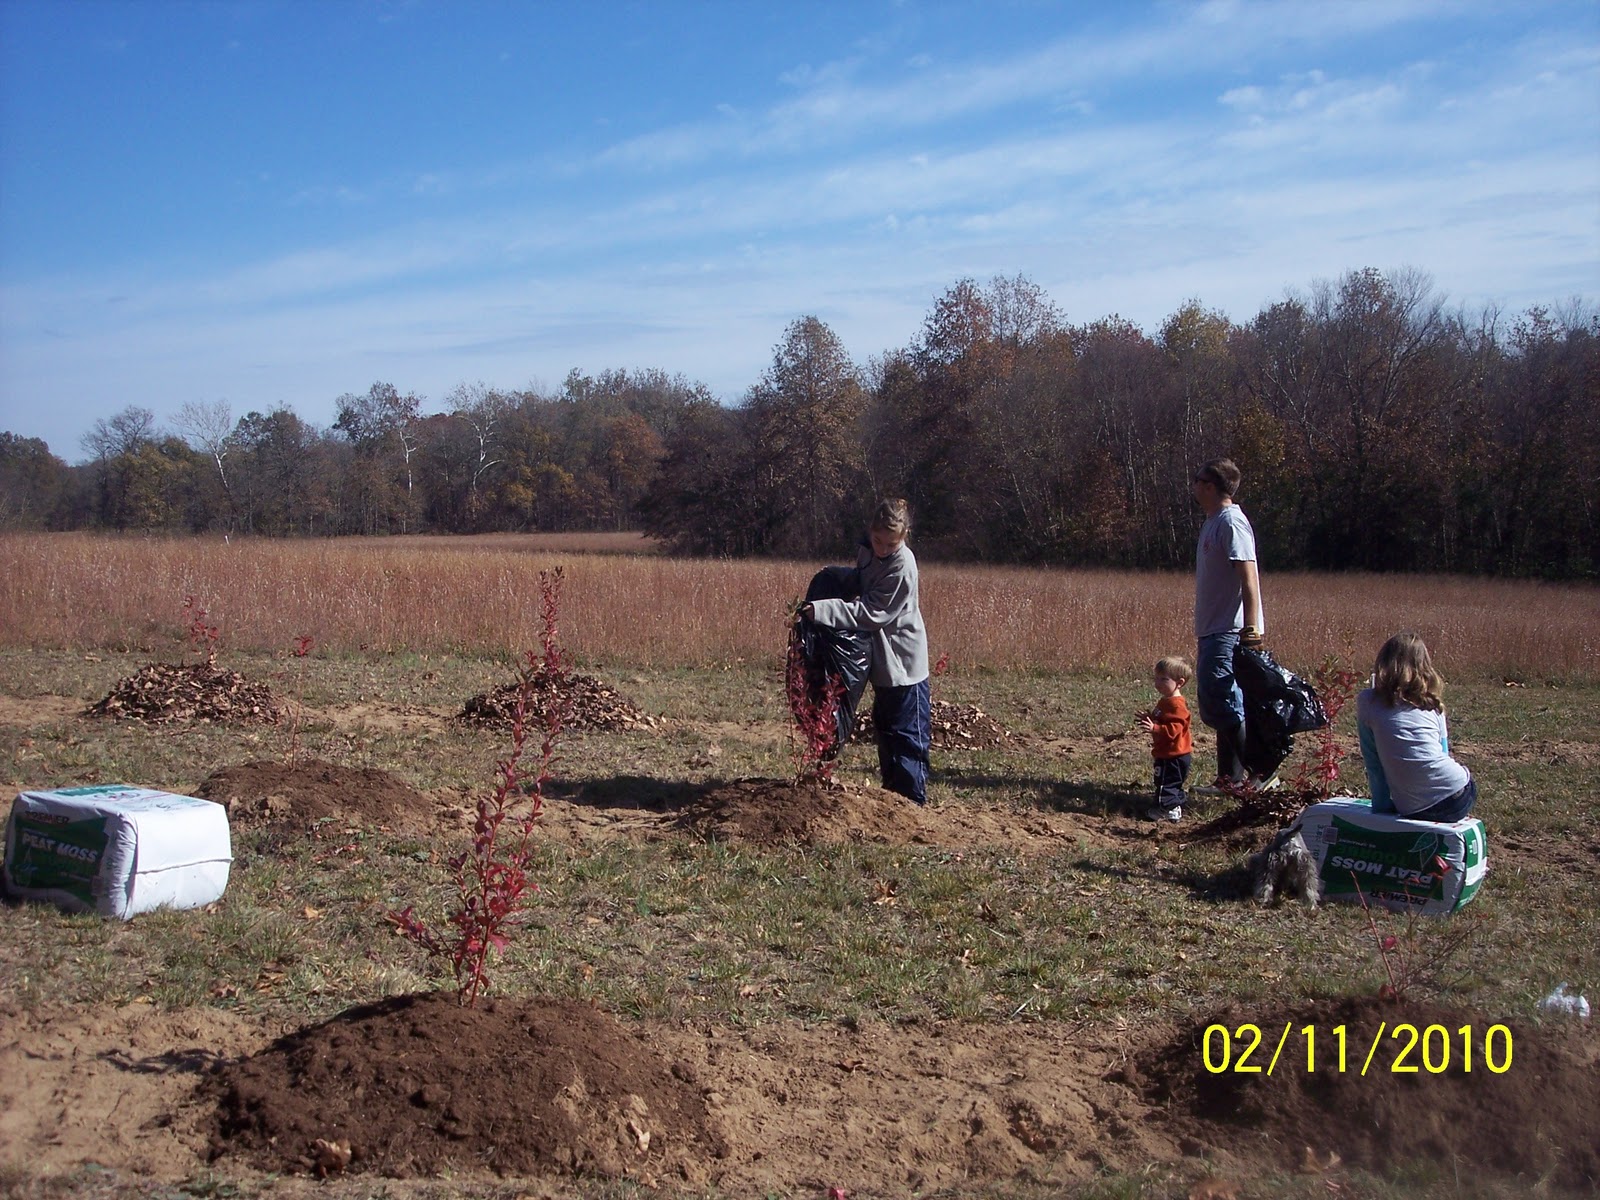
For as long as I can remember I have been fascinated by the idea of building a home made of straw.  It has gained acceptance as a green resource in many parts of the country.  Straw has low embodied energy, it is after all a waste that would typically be left to rot.  When used as infill for the walls it has a high insulation value.  I have heard the argument of straw walls leading to infestations of mice and insects and peoples fear that they would be living in a tinderbox just waiting to go up in flames.  Why these are valid fears I have come to learn they are unjustified.  Straw may be used to build a home in two different ways.  One may use straw as the load bearing structure or simply use it to fill in between the load bearing structure.  Each has its benefits.  After the straw is stacked it is stuccoed.  As long as it has not been exposed to moisture and the stucco is properly applied you have no worries of mice, mold, or even fire.  There have been numerous studies performed showing that it is actually very difficult for a fire to sustain itself in a straw bale wall. 

The benefits of using straw include the fact that you are using a resource that otherwise would be a waste product, it has a high insulation value,  t is found in nearly all parts of the country and would be easy to get, and it would be reasonably inexpensive. 

Some of the cons to using straw as a building material include the low level of public acceptance.  After all, some day you may want to sell your home.  Possible problems obtaining financing and insurance, and it is pretty darn heavy!  That is the sticking point to me.  While I can live with the fact that we would have to find like minded folks if we ever though about selling and we do not plan on any financing as we will be paying as we go, I can not get around the fact that I have had a spinal fusion and I do not know if I would be able to lift, carry, and stack that much straw. 

Stick Built Construction

Everyone is familiar with stick built construction.  More than likely the home you are in now was built using this method.  It has been the primary building method for many years and there are codes in place for building with wood.  Financing is not a problem and there wouldn't be any problems with obtaining home owners insurance.  The problem with stick built homes are numerous.  There is a tremendous amount of waste if you are building a site built home.  While it is possible to eliminate some of the waste with proper planning about the most efficient method of stick building is with modular homes.  They are built in a climate controlled factory which eliminates the possibility for mold which can be a problem with site built homes and they have become very proficient at building with little waste.  Some of these factories are very impressive and look much like what one would think a car assembly line would look like.  Another problem with stick built homes is thermal bridging.  While you can make the walls thicker and add more insulation you still have the studs every 16-24 inches.  It is relatively easy to frame a house.  Most of the work can be done by two or three people and it is not a problem obtaining plans or building materials as there is a big box lumber store in nearly every mid-sized town.  Another problem with stick built homes is the fact that there is low thermal mass.  We plan on using passive solar techniques to assist in heating our home and I do not think we could get the level of heat storage I am wanting.

Concrete Construction

While I hate the idea of using concrete as a building material, it makes me think of Soviet era human warehouses, it is a very efficient method of building.  I have been doing tons of research on various methods of using concrete and I will share a few here.  One method of using concrete is to build forms and pour solid concrete walls.  Another methods which intrigues me is using an insulated concrete form which is basically a hollow block of foam which is stacked and then concrete is poured in the center.  The third method I have researched is dry stacked concrete block.  This is simply taking concrete cinder blocks, mortaring the first row and then stacking the subsequent blocks on top.  Every five or six rows would need another layer of mortar to ensure the wall remains level.  After the wall is up one places rebar in every fourth cavity and fills it with concrete.  After the interior is filled with the concrete you use a surface bonding concrete to cover the inside and outside surfaces of the block walls.  These walls are said to be just as strong if not stronger than mortared block walls.  I think it would be more realistic for me to be able to build using this method.  It does not take a great amount of skill to set the blocks.  The wife and kids could help with the process, not something they could likely do if we used straw bale or even stick built construction.  This would take care of my need for high thermal storage potential and work great with a good passive solar design.

We have yet to decide which construction method we will use we have started playing around with some floor plans.  We will probably end up with a hybrid home using some of all of the mentioned construction techniques.  Here are some samples of the floor plans we have come up with so far.


Most of the plans I have drawn are roughly 32' x 60'.  We do not want a large house but lets face it, we need enough space to live.  This plan has the master bedroom on the west side of the house.  The great room and two bedrooms on the south side would have plenty of windows to let in the winter sun to help heat the house.


Here is the same plan with some furniture in it so you can get an idea of the layout.  The bottom of the picture is to the south to take advantage of the sun.  The rooms on the north side of the house will have fewer windows and be super insulated.


This is the same plan in 3D form.  I found a website that lets you make floor plans in 2D and 3D.  It lets you add flooring, wall coverings, furniture, the works.  It is free and does not even require registration to play around on it.  the website is homestyler.com.  Check it out it is alot of fun.


We are getting excited about this adventure the closer we get to actually starting it.  I hope you find it interesting following along.  It is sure to entertain as we will tell it like it is.  Until next time Peace!

Tuesday, December 7, 2010

Doing it Old School

As we begin our journey to self sufficiency we need to take a moment to give thanks, thanks for what we have, thanks for the people we have in our lives, the knowledge we have available to us, and last but not least, the tools we have.

Try to imagine life as it was one hundred years ago.  The simple act of making supper would have been a chore.  You would not simply jump into your car to go to the local A&P to pick up a frozen dinner.  You would have had to thought about what you were going to have, found the ingredients, and actually put them all together.  You would not have a natural gas or electric range to cook them in but would have to cut wood for the fire.  The simple act of making supper is no longer a simple act.  It would consume most of an afternoon.

Just imagine how yard work would have been.  Today we have powered mowers, edgers, trimmers, tillers, and everything in between.  Some of these things the hardest part is starting them.  Can you even begin to imagine how our forefathers did it?  I bet it was a little harder, took a little longer, and involved alot more sweat.
My wife and I stopped in at a local flea market some time back.  I found lots of neat stuff I could not do without. 


The first item I found is this old time reel mower.  It has a date from the late 1880's stamped on it and it is in amazing condition.  The wheels are metal with a rubber ring around and other than the blades it is all wood.  It is in amazing condition and after a little lube it worked well enough to cut the grass in our front yard.  About the only downfall it has is it does not mulch.


This item is some type of roto tiller.  It has a metal drum with cut outs that look like teeth and on the rear it has three tines which have been welded together.  I have never seen anything like this but the price was right and it is in excellent condition so I had to have it.  While it can not keep up with my new rear tine roto tiller it is a neat artifact from our past.


Now that I can mow the grass and till the garden with human power alone I had to have something for the weeds.  You guessed it, a hand held human powered weed wacker!  No need to buy that expensive line and no fossil fuels required. 


After the yard work is done we can head to the workshop for a little wood working.  Forget those expensive power saws we have something better.  You do not have to worry about the motor burning up or ruining your hearing from those loud saws.  It will cut as long and as fast as you can move your arm.

While we are at it, how about a way to get that lumber..


I know it is not the best picture but I had to throw this in here.  It is an old two man saw.  You know like the one your grandpa's dad used.  Other than the rust and a broken handle with a little tlc this thing should work like a charm. 

After looking at these items and imagining the time and effort that those before us used to accomplish simple tasks I am more thankful that technology has made alot of these chores easier.  The best part is I spent about $50 for all of these items!

Sunday, December 5, 2010

No More Trespassing

Well as you know we have purchased land for our new home.  It is raw land meaning that there are no utilities, phone, water, drive, nothing!  To access our property we had to enter on our neighbors lot and drive across it onto ours.  While this worked for awhile it obviously was not ideal and we knew we had to get our drive in ASAP.  We had been trying to get our driveway put in for several months but it had been one thing after another.  Either our money went somewhere else or the state decided to replace a bridge.  A friend agreed to utilize his expertise and equipment to build our drive.  We got the culvert hauled out to the property and were ready to go.  We were talking about having the gravel hauled out when we got to thinking, how much does a dump truck full of rock weigh?  The reason I ask is because the state decided to replace a bridge leading to our property and entering from the other direction requires crossing two low weight bridges that definitely would not hold a heavy truck full of rock.  Well the goal was to have the drive in before winter and I am pleased to announce, It is in!  The bridge was finally finished and my friends schedule was clear and he so graciously placed the culvert and laid the rock for the entrance to our property.  You may notice that we only set the entrance over the big ditch.  No I was not being cheap there is a reason for this.  See we have yet to decide where we will place the house.  If we build in the front part of our property the sewage system will need to be installed so we do not have to rip out all our expensive rock.


This is what we started with.  This picture is misleading as the ditch is actually deeper than it looks.


Here you get an idea of how deep the ditch was.  We used a lot of rock building up so our entrance into our property is level.  One option for the location of our future house is to build it in the front of our property.  Basically it would sit in about the middle of the top of the picture.  We would have to cut down a few trees so we could sit it back far enough for privacy.


Here it is.  The entrance to our long term dream.  You can see the pass to the rear of our property in the upper right side of the photo. 


Now that we can get onto our property we have to make a decision on where the house will sit.  I prefer to site it in the rear of our property, it is secluded from the county lane, has beautiful views to the stream to the south, and is further off the road which may help keep down the dust.  The only problem is getting electricity back there.  I have spoken with the electric provider and was told that the first 300 feet of line is free and then it is $5 per foot.  If the power has to be brought in along the road this may be a no go.  It would be cost prohibitive as we would have to pay for the extra 50 feet along the front and then approximately 500 feet to the back.  We have to make a decision soon because I am wanting the power in place by spring so we can get to work with the actual building.  Of course the best thing would be to go all solar.  If Missouri and the federal government got their acts together to sweeten the pot with rebates that would be the way to go.  It does not seem fair that if we lived out west it would cost us 50% less for the same solar system.  As it is now we plan on starting with a small solar system so that we reduce our power bill and have an emergency power source as we get lots of ice storms in the winter and severe weather the rest of the year.

We have really started looking at different house plans.  We found one today we both like with a few modifications.  When I finish drawing the revisions I will scan it onto this site.  It will be fun to look back when we are finished and see how close we were to our plan.  No matter which plan we decide it is going to be passive solar.  We are going to incorporate stained and stamped concrete as our finished floors which will reduce allergens, dust, and increase our ability to utilize the sun to heat the house.  Thank you Mr. Sun for providing all that energy and thank you to our neighbors M and R for letting us cut across your lot to get to ours!

Thursday, November 18, 2010

Blue Berries In The Ground

Well it has started.  I found a good deal on sphagnum moss from True Value which saved me a great deal of money considering I had thought I was going to have to but a bunch of small bags from our local big box store.

We also had a lucky break with getting a good deal on some plants.  Our local nursery had Patriot and Blue Crop left which he gave me a good deal on since they were the last of his stock. The plants are two year old and I paid less for them then I would have on one year old plants plus shipping.


We did not have room on the trailer since I had loaded up all the bags of moss, shovels, water, and all of the other items we would need to plant.  Thanks to my wife for pushing me to buy a Ford Expedition we had plenty of room to load all of the plants inside the SUV and even had room left over for the kids.  You can't do that in a compact car!


 The first step was laying out the placement of the plants.  There are many different opinions on proper spacing but I elected to plant four feet apart from center to center of the plants.


Don't fool yourself.  Those bags of moss are no lightweight!  I wore myself out unloading them and carrying them over to the rows.


We ended up deciding to use 2/3 peat with 1/3 soil.  I am hopeful the naturally acidic peat will maintain the proper low PH we need for the berries to flourish.

Add caption


We mounded each plant to ensure proper drainage.  Blue Berry plants like water but the do not like to be in standing water.  By mounding each plant we should be able to provide the proper amount of water for each plant.
Notice the leafs?  We are using shredded oak leaves to mulch each of the plants.  Remember mulching helps reduce weed growth and reduces evaporates water loss from the sun.  The oak leaves will also help to maintain the acidic nature of the soil as they decompose.  In the future we will use chipped and shredded leaf and limb litter to mulch the plants and the entire space between each plant.  Just remember you do not want to use Walnut or Maple leaves as they will have the opposite effect.


We had to start rationing our leaves as I apparently lost several bags off the trailer on the way out to our farm.  Oops.  
Here you can see we are at the tail end of planting this batch of plants.  It was alot of hard work but remember, it will be worth it next summer when we are picking our berries and making some extra income from the farmers markets.


Look at those beautiful plants.  Notice the large tank sitting on the trailer.  That is our water tank we got a good deal on.  Most community radio stations have some type of Trading Post where people call in with items they have for sale.  I picked up the large water tank for $50.  Not a bad deal.


 A picture of a few of the plants in the ground with the initial leaf muclhing in place.  We still have to mulch the remainder of the row but are waiting until I install the gravity fed drip irrigation system.  It is hard to tell in this photo but the left side of the photo is the north part of our open field and it slopes nearly due south.

I am building a platform to hold a water storage tank at the top of this hill and will be able to fabricate a drip irrigation system with moisture meters that will automate the watering.  This is why we have yet to finish the mulching.
Here I am watering one of the last plants.  One thing I would like to mention is blue berry plants thrive in an acidic environment.  One problem I ran into was the fact that we filled our water tank with municipal water which has a higher PH.  In the future we will have to add a substance to the water to bring down the PH level otherwise all my effort to prepare the soil is for naught.

Dad what am I supposed to be doing?


The work of planting is done and the kids are ready to hit the road!  I am not sure where he thought he was going but he was ready to go!


 But as anyone who has ever farmed or even planted a garden knows, the work is never done.


I hope deer do not like to eat blue berries.  I may have just started the first course on the deer smorgasbord!


 The plants require watering and constant monitoring of the PH levels of the soil.  My water tank I found included a hose with a shut off nozzle which makes it handy.

Wednesday, October 13, 2010

Preparing for Blue Berries on the Homestead

Well we are preparing the field for blue berry plants.  Why did we choose to plant blue berries you may ask.  I will tell you.  We were looking for a crop we could grow that is not your typical crop.  Something people would want but not many people are supplying.  After hours and hours on the Internet and reviewing extension suggestions for alternative cash crops I came up with blue berries.  The reasons are twofold.  Great potential for profit and increasing consumer demand.

Blue berries may be eaten fresh.  Made into jellies or jams, syrups and juices.  And also make a decent pie.  They freeze well and do not stick together when frozen unlike other berries.  Did I mention that they taste good?  There are also many well know health benefits from eating blue berries.

Health Benefits:
  • Blue berries aid in reducing belly fat
  • Blue berries are rich in antioxidants which naturally boost your immunity
  • Neutralize free radicals which may help reduce disease and fight the effects of aging
  • Preserve vision.  Blue berry extract contains compounds called anthocyanosides which may slow visual losses.  Better than eating carrots in my opinion!
  • Promotes the health of the urinary tract
  • May help heal and prevent neurotic disorders by preventing the deterioration and death of neurons.  Family history of Alzheimer's disease?  How about a cup of blue berries.
  • Combats heart disease by dissolving bad cholesterol and strengthens the heart muscle fibers
  • Combats constipation and aides in digestion due to the high fiber content
  • Blue berries contain certain chemicals that may repel certain types of cancer such as colon and liver cancer
  • And did I mention they taste so good? 


Selecting the Site

Blue berries require full sun and a well drained soil.  You can not expect a plant to do well in shade or in an area that remains wet.  Most of a blue berry plants roots are in the top 8 inches of soil so your planting area need not be deep but should be 2.5 to 3 feet wide.  You also want to keep the weeds away from your blue berry plants so they do not have to compete for water.  As you can see in the picture below the site we chose is a slightly sloping area with full sun.  The picture was taken at dusk and the area that we are planting receives full sun from sun up to sun down.


Preparing The Soil

You can not just go out to the local nursery, purchase your blue berry plants and stick them in a hole in the ground.  The soil has to be prepared first.  Blue berries require a very acidic soil.  If the ph of the soil is to high the plants will not do well or will more than likely die.  The recommended ph for blue berry plants is 4.8 but anywhere from 4.0 to 5.0 will work.  Very few spots in our location in the Ozarks have a naturally low ph so some amendment is probably going to be required.  Blue berry plants also like lots of water but do not like to be kept in a wet environment.  This means you want to water blue berry plants well but they must be in a well drained soil.  If your site is not well drained you may create a mound to plant the bush in as long as the plant is 6-8 inches above grade.

Methods of Lowering PH 

As discussed a blue berry plant has to have an acidic soil to grow and do well.  Does this mean you can go till up a spot, lower the ph and immediately plant the bushes?  You probably can but they may not do well.  It is more beneficial to prepare the soil 3-4 months before you plan on planting.  For you average home grower you would typically plant blue berry bushes in the spring.  For commercial growers it is recommended to plant in the fall.  There are several ways to lower the ph of your soil but they all begin by testing the ph of the soil.  In our case we purchased a ph tester from Ace Hardware.  It is simply a rod you stick into the soil with a meter attached.  I cost less than $10.00 and will more than pay for itself.

Using a wettable sulfur (greater than 90% sulfur) such as garden sulfur you will use 1 pound per 100 square feet on sandy soils to lower the ph by 1 unit such as from 7.0 to 6.0.  On soils containing silt, clay, or more than 2% organic matter it will take 2 pounds of Sulfur per 100 square feet of soil to lower the ph by 1 point.  You will need to re-test the ph and keep adding the sulfur until you reach the recommended level of 4.8.  If you absolutely must plant a blue berry bush without preparing the soil months in advance you can try using sphagnum peat moss.  Sphagnum peat moss is naturally acidic, organic, and has high water retention properties.  For each plant prepare an area 2.5 feet in diameter and one foot deep.  Remove 1/3 to 1/2 of the soil and work in an equal amount of pre-moistened peat moss and mix well. 

Another alternative method is using pine mulch.  Pine mulch is naturally acidic.  In this method you will use one part pine mulch, one part peat, and one part soil.  This will reduce the amount of peat moss your require which will reduce your costs and it will create and air and water channel.


As you can see we have started tilling the first row.  After we selected the site we ran a piece of string as a guide to keep the rows somewhat straight.  It is best for the rows to be oriented in a north to south fashion but if that is not possible you may orient the rows east to west.  The rows the berries will be planted in are four feet wide and there is ten feet in between rows.  This gives us a nice sod area to walk on for picking and we can easily keep it mowed to keep the weeds down.


Here you see we have completed four rows.  Each row is 200 feet long.  We will place the berry bushes in each row with a minimum of 4 feet between each plant. 


Our plan is to plant 200 blue berry plants that are 2-3 years old when we plant.  We will be able to start producing within a year or so and will plant additional plants each year to increase our production.  We plan to initially sell at farmers markets and possibly to some local stores.  As we add plants we will open a u-pick operation to increase our profits.  My next post will cover the actual preparation of the soil with the results of my soil test, addition of sulfur and peat.

Sunday, October 10, 2010

The Forquer Farm at Turkey Hollow

We have purchased our sanctuary!  This past August the family and I purchased five acres in Missouri.  It has long been our goal to at least get across the state line into Missouri to take advantage of the lower tax rates.  We have searched high and low and I have been scouring the Internet for the past several years searching for the perfect place.  About a year ago I saw and on-line ad for five acres with a creek.  I came back across the ad when I was going through old bookmarks and cleaning up my computer.  I clicked on the bookmark and the ad was still active.  I called the listing agent and was informed that lot had been purchased but they had another adjacent lot I may be interested in.  We got directions and drove out.  The kids and I were excited.  We thought from the first moment we saw it that it was the perfect spot!  Jennifer wasn't so excited about the thought of being 12 miles from town.  She was hesitant to say the least.  We decided we would wait and think about it prior to making any decision.  Jennifer said she prayed for a sign that it was the right thing to do.  We received a call from the agent the next day and she told us that the price had dropped from $22,000 to $15,000.  WOW!  I call that a sign!  Needless to say we immediately sent the down payment and closed within two weeks.

The place is what I have always wanted.  Five acres.  Half of it is open ground and the other half is forest with oak, birch, and hickory trees.  Wildlife is very abundant, we have seen turkey, deer, and other small game.  The nearest neighbor is almost a half mile away.  Perfect!


Since we purchased the land we had to purchase a lawn tractor.  And to get the lawn tractor out there we had to purchase a trailer.  I have been doing research on ways to make our land make us money and have come up with selling blue berries during the summer months when they are in season.  In the fall we will have pumpkins and gourds.  We have also talked about maybe growing mums to sell.  The possibilities are endless.  In preparation for planting the blue berry plants I purchased a rear tine tiller.  It is a Craftsman model and it works wonderful.  I tilled four rows four feet wide by 200 feet long.  I can honestly say it did not even feel like work.  The soil appears to be great with a good mix of sand and soil.  Blue berry's require a very acidic soil so we will have to work in oak leaves and use lots of peat moss when  we plant.  Otherwise they will not make it.  With the soil prepared I am researching nurseries to purchase the plants from. 

A good friend I used to work with came out and cut some brush from the front of our property along the road and he is coming out next week to put in our driveway.  We hope to have our house on the market by March 1 of next year and we will be putting in the electricity and water sometime early next spring as well.  As soon as our house sales we will be able to build our homestead.  The only problem is deciding the building method.  I have researched many:

    
  • Straw bale                                                             
  • Structural Insulated Panel             
  • Insulated Concrete Foam
  • Post and Beam
  • Log Cabin
  • Kit Home
  • Modular Home
I decided that given the fact I have had a spinal fusion and two shoulder surgeries I probably would not do to well with the straw bale idea.  I also and not convinced that I could get the level of water proofing we would need with our wet, humid climate.  Insulated Concrete foam would be nice.  It would be fireproof and nearly tornado proof but how much would I be able to really do myself?  Post and beam would be nice but it would require the purchase of a sawmill or finding timbers within a reasonable distance.  I could then incorporate the structural insulated panels for increased energy efficiency and this seems to be the direction we are leaning.  Whichever method of building we decide on we will definitely be incorporating passive solar features into the design and we will build only as big as we need.  Do we really need two living rooms, a seperate dining room, home office, and library?  The idea is to have a more open floor plan with more multi-use spaces versus rooms dedicated to a single purpose. 


View of property from the road
 Of course the girls have dreams of ponies and puppy's.  We are thinking about using goats to clear the underbrush from the forest.  Jennifer has always wanted some chickens so she will finally have her chance.  The only question is how to keep the coyotes away.  I have also read that geese are good to eat the weeds and bugs out of the berry patch.  There is so much to learn.  I really know nothing about farming but you have to start somewhere.  All we know is that we are finally fulfilling our dream of being in the country and being more self sufficient.  It will not be easy, it will not be cheap, and it may take longer than we can even imagine but I do know that we will be better off in the end!  When are you going to fulfill your dreams?


A view of our property


Sunday, July 11, 2010

Water Water Everywhere Not a Drop to Drink

The Problem

Our last post covered options for lighting our home with modern bulb technology.  This week we will cover ways to save money in regards to water.  In our community we are billed a sewer fee for all of the water that flows from the city main through your meter.  What if the water you used did not find its way back into the city sewer system?  A good example would be the water you use to water your lawn or garden or the water used for filling a swimming pool.  It does not matter!  You pay the sewage fees no matter where the water goes or what it was used for.

Our Solutions:

Clothing Care

It was only after our family size grew and we noticed a dramatic increase in our water bill did we begin to question ways to save.  One of our biggest water saving moves was when we purchased a new clothes washing machine.  Prior to this we used the standard top load washer that used gallons and gallons of water.  In late 2008 after conducting much research on washing machines we made our selection.  The model we selected was the Whirlpool Duet Sport.  This washer uses less water and energy to operate than the standard top loading model. When the machine was delivered and after it was set up we spent hours just watching it wash clothes.  I was amazed by how little water it uses.  All you have to do is select the type of load you are doing, fill the fluids and watch it go.  Its too bad they have not figured out how to make a washer be self loading.


 Features:
  • Energy Star qualified
  • Large stainless steal drum
  • 7 cycles, including whitest whites, heavy duty, normal/casual, quick wash, delicate, drain/spin, rinse/spin
  •  It is ultra-efficient! Uses 60% less water and almost 70% less energy than the standard top loading washer
  • It has a delay mode that you can set for up to 6 hours in the future.  This feature is useful in communities that offer off peak water rates
  • Care control temperature management.  It senses the optimal temperature for each cycle of the wash.  This ensures that the water is at the right temperature for the detergent and maintains the water temperature at a level safe for the type of load you are doing
  • Automatically dispenses detergent, fabric softener, and bleach.  All you do is fill the appropriate section prior to starting the load
  • Ultra capacity.  If you have a large family that does lots of washing this is a feature you will love!
  • Clean Washer Cycle to keep the washer clean and sanitized
  • Uses less detergent!  We were amazed at how long one bottle of detergent lasts, it is unbelievable.
We have found that the washing machine is quiet and handles the largest loads without problem.  We have not had any problems with this washer and would recommend it to any of our friends or family!

Personal Hygiene:

Another way I found to save our family money was with a low flow shower faucet.  Some experts say that showering can account for up to 25-33% of a homes water use.  My wife was against the idea of restricting the flow of water to the shower because she loves to relax with a nice shower and really loves the rain type shower head.  I did some research and found that no matter what style we chose we would be getting a more efficient shower head than what we had.  The government regulated shower heads and all new devices must use no more than 2.5 gallons per minute at 80 psi or no more than  2.2 gallons per minute at 60 psi.  Our old shower head was old.  I learned that any shower head manufactured prior to 1992 used at least 5.5 gallons per minute so any option we chose would realize a savings of at least 50%.

Types of low flow shower heads:
  • Laminar flow:  the shower head creates individual streams of water
  • Aerator shower heads:  mixes air with water to create a misty spray
  • High pressure shower heads:  use the venturi principal to increase the velocity of the water coming out of the shower head


As you can see there are many choices for energy saving shower heads.  You are sure to find the style and design you want at any price point.  Installing the new shower head is easy and takes only minutes to do.  By changing out your shower head you will also realize savings in energy used to heat the water.  You will be using less water and that translates into less energy to heat that water.  So yes honey, you can have your rain shower and take as long of a shower as you want, or at least until the hot water runs out!


The Topic Nobody Wants to Talk About, the Toilet


How old is your toilet?  Many of us may think that if it is not broken don't fix it.  This can be a costly mistake as the old toilet technology was a water hog!  Many European countries outlawed these outdated models and mandated reduced flow flush technology.  Our old toilet used 5 gallons of water per flush.  For a family with multiple kids each flush really adds up.  Americans use about 4.8 billion gallons of water every day just to flush.  I did research on what our options were and found there were many options available.

  • Dual Flush Toilets
  • Low flow Flush Toilets
  • Conversion Kits to change your toilet into a Dual Flush or Low Flush Toilet
We chose a low flush toilet made by Glaciar Bay.  This toilet looks like any other toilet but uses only 1.6 gallons per flush.

Check out this link for the many styles available:  Toilet Options


Conclusion

By making these simple changes we were able to cut our water bill from an average of $100 per month to less than $40 per month.   In the future I hope to be able to make changes to the way we heat our water to further reduce our utility costs.

How much water do you use in your household?  Check out this neat tool to calculate your usage:
Water Use Calculator


    Wednesday, July 7, 2010

    What's With The Name Kan-Green

    I have been asked what the name of my blog means. The first portion, Kan, stands for two things. The first being Kansas which is where I live. The second is that I believe that anyone can be green. It does not take much effort to live a more sustainable lifestyle. A good place to start is with your choice of bulb to light your home. The typical American home uses 25% of their home energy budget on lighting! Saving money could be as easy as switching your antiquated incandescent light bulbs to one of the newer energy efficient styles. We have many different options which I will outline below:

    Incandescent bulbs:

    Pros:
    1. Cheap
    2. Widely available
    3. Come in many different shapes, styles, and colors
    4. Produce a soft, soothing light in all directions
    5. They cool almost immediately when turned off

    Cons:
    1. Old technology from the late 1800's
    2. Rely on heating a filament to produce light
    3. Short life span, up to 1,500 hours
    4. Produce heat, not good in regards to attempting to keep your home cool
    5. Consume 2-3 times more energy than the newer alternatives


    Halogen Light Bulbs:

    Pros:
    1. Brighter
    2. Most closely imitate the light from the sun
    3. Smaller
    4. Longer life than incandescent up to 2,500 hours
    5. They recycle themselves

    Cons:
    1. Like incandescent bulbs they rely on heating of a filament to produce light
    2. Waste gas and electricity in heat energy released from the bulb
    3. Due to safety issues they should never be used in lamps or a children's room
    4. Should never be used near flammable objects

    Fluorescent Bulbs

    Pros:
    1. Available in a wide variety of shapes and sizes
    2. More energy efficient than incandescent or halogen bulbs
    3. Last 15-20 times longer, up to 25,000 hours and use 40% less energy than incandescent or halogens
    4. The light is softer and warmer than traditional fluorescent bulbs

    Cons:
    1. Light is not as warm or natural as incandescent bulbs
    2. Lamps and fixtures tend to cost more as a ballast is required
    3. Life is shortened by frequent turning on and off
    4. Has been connected to the fading of paintings due to high uv output
    5. May not turn on in extremely cold temperatures
    6. Contain mercury and phosphur materials

    Compact Fluorescent Bulbs

    Pros:
    1. Saves approximately $30 in energy costs over its life span
    2. Pays for itself in 6 months
    3. Uses 75% less energy and lasts 10 times longer than incandescent bulbs
    4. Less expensive than other higher efficiency bulbs
    5. Versatile as they can be used anywhere an incandescent bulb is now used

    Cons:

    1. Sensitive to frequent turning on and off
    2. Not all CFL's can be used with dimmers or timers
    3. Can only be used outdoors if covered or shaded
    4. Contain mercury which is toxic to you and the environment


    Light Emitting Diodes (LED) Bulbs

    Pros:
    1. They do not get warm
    2. There is no filament
    3. Long life lasting 10 times longer than CFL bulbs
    4. Last up to 60,000 hours
    5. Cost of power for 60,000 hours - $12.00
    6. Durable. There is no filament to break thus they last far longer
    7. Mercury free

    Cons:
    1. Generally less bright than traditional bulbs
    2. Has a very direct field of light. Useful for task lighting, not so much for lighting a room
    3. High production cost leading to high cost to purchase


    Fact: If every American home replaced just one light bulb with an Energy Star qualified bulb, we would save enough energy to light more than 3 million homes for a year, more than $600 million in annual energy costs, and prevent greenhouse gases equivalent to the emissions of more than 800,000 cars.

    Fact: A report by the International Energy Agency found that a global switch to energy efficient lighting would trim the worlds electricity bill by one-tenth. The carbon dioxide emissions cut would be more than those produced by the current use of solar and wind technologies combined!

    Fact: 19% of global energy use is for lighting.

    Fact: Replacing a single incandescent bulb with a CFL will keep half a ton of CO2 out of the atmosphere over the life of the bulb.

    Fact: If every household in the United States used energy efficient lighting we could shut down 90 average size power plants!

    Want to learn more? Check out these links:

    http://eartheasy.com/live_energyeff_lighting.htm

    http://www.energystar.gov/index.cfm?fuseaction=find_a_product.showProductGroup&pgw_code=LB

    http://www.treehugger.com/files/2008/04/energy-efficient-light-bulbs-save-water.php

    Monday, July 5, 2010

    Huff and Puff All You Want, You Will Not Blow Down My Dream House!

    I like to think that I was green before green was cool. I have always asked myself why we work so hard to hand our hard earned money over to others? Americans on average work more hours than any other industrialized nation. We get less vacation, sick, and maternal/paternal time than any of the other nations. If you are like myself and are not independently wealthy, you may have become a slave to employment.

    In the past decade the price of all goods has risen at an average of 3.8% annually. Do you remember filling up your car for a twenty? How about those trash bags, diapers, and all of the other petroleum based products? My rate of pay and 401-k have taken a beating. Based on inflation I am earning less than I was prior to our economic downfall. Our government denied the fact that our country was sliding into the worse financial crisis we have ever faced. The very people who perpetuated the attacks on our soil are the ones that pushed us to the edge of the cliff and they are the very ones controlling the spigot to the oil we have been conditioned to think we need! We are enslaved by big oil and despite all of the rhetoric in Washington, I do not trust those who take money from the big oil/big industry lobbyist to look after my best interests. How long did it take our elected leader to admit that the tragedy in the Gulf of Mexico was the worse ecological disaster to ever afflict us? Take a look back a few years when ethanol was the big rage. When I first moved to Kansas all you would see for miles around was wheat. Well the corn producers lobbied successfully for subsidies for ethanol plants and now what do we have? Miles and miles of corn. Not to eat mind you but to turn into fuel. Never mind the fact that it is more energy intensive to turn corn, a food crop, into fuel. How about the bio-diesel plans? More lobbying and subsidies for bio-diesel plants and we turn another food crop, soy beans, into fuel. Guess what happened to a local co-operative bio-diesel production facility when the subsidies were not continued? They were unable to pay the farmers for their product.

    How much do you pay to heat your house in the winter? My wife and I purchased a house built around the turn of the century. Our first few years here were miserable. In the winter we could not keep it warm and in the summer we could not keep it cool. We had natural gas bills over $700 per month! Don't even ask how much the electric bill was to cool it.

    Despite our best efforts at installing energy efficient windows, house wrap, new siding, and insulation we still do not have a home that works for us to keep our hard earned money in our pockets. It is time for our personal Declaration of War against outdated home design, co-dependence on foreign oil, waste and wanton destruction of our country, and use a common sense approach to using nature to our advantage to heat, cool, and light our home. We do not have a choice, our children's futures are at stake.

    When will you Declare Your Personal War and Start Investing in Your Families Future?